I began by preparing the three sets of pages for my book. (I must apologise for the camera cord which I hadn't noticed was in the frame when I took these photographs, and hope it doesn't obliterate too much of the image).

Fig.1
For the first internal page I stamped my agapanthus image onto two sheets of organza fabric before stitching one piece with the words 'garden of memory' and the other with the words 'garden' and 'memory' randomly across the fabric. The intention was to mimic the lettering sample No. 10 in Chapter 2. I left the loose ends of my threads floating across the page. Once the stitching was complete I stitched the two pieces of fabric together around the edges with a bead decorated buttonhole stitch.

Fig. 2
The second internal page was stitched in a very similar way to the first but this time I printed a photograph I had taken of the gold ballroom in Pushkin Palace in St Petersburg onto a third piece of organza. I then cut this into strips and bonded it onto a second piece of organza before stitching it with the words 'palace' and 'dreams'. The other side of this page has the words 'palace of dreams' embroidered randomly over it.

Fig. 3
I tried many different arrangements of my family photographs in an attempt to make a collage of the faces, but as they are all different sizes and poses, it proved impossible to make them look as good as I needed them to. In the end I admitted defeat and decided to have each photo printed onto a separate page of calico.

Fig. 4
I machine stitched a frame around each photograph then hand embroidered my quotation throughout the pages.

Fig. 5
I added rows of decorative machine stitching onto some of the pages

Fig. 6
and stitched the pages together at the edges with a buttonhole stitch. I didn't add beads this time as I felt there was already enough decoration on these pages.

Fig. 7
I then sewed the pages together into a simple eight page pamphlet on the machine.
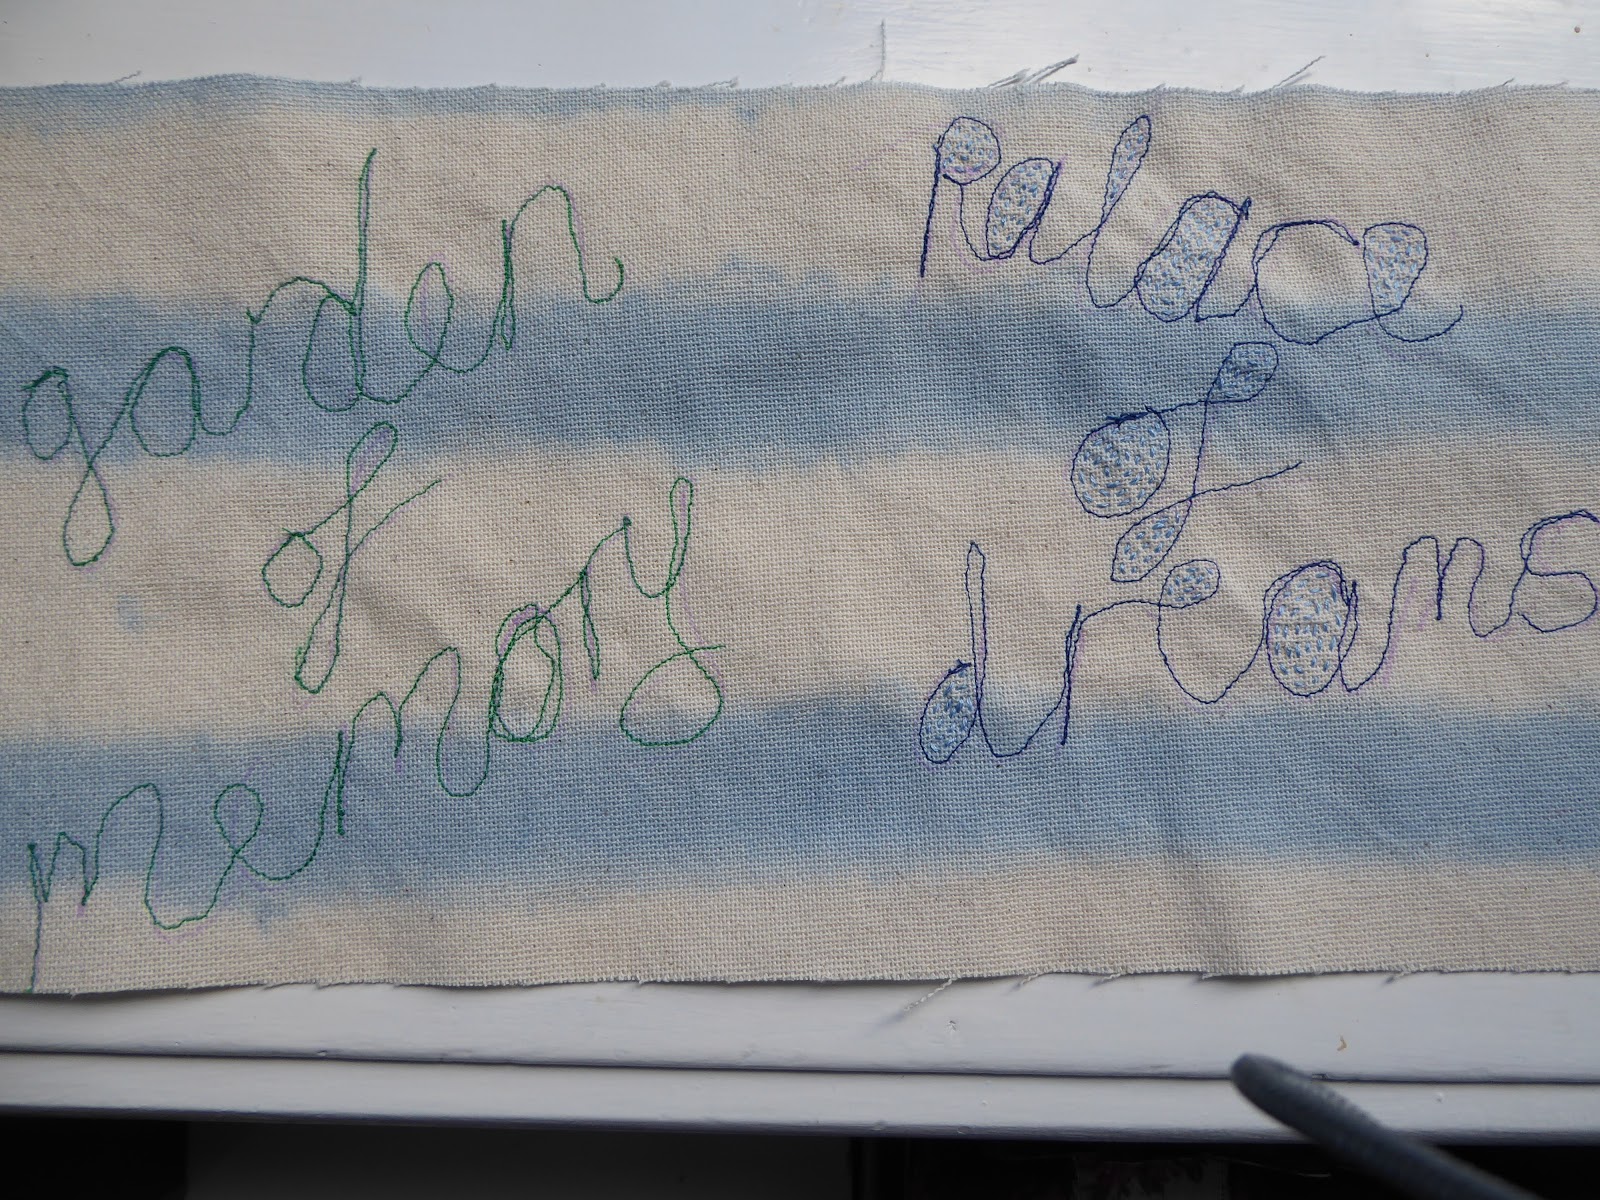
Fig. 8

Fig. 9
Figures 8 and 9 show the dividing pages of the book - a piece of linen onto which I painted wide blue stripes with cold water dye to reference lined writing paper. After a couple of practice attempts I decided to bite the bullet and machine stitch my quote. In Fig. 8 you can see that I have started to work seed stitches into the centres of some letters to echo Sample 19 of my lettering samples in Chapter 2.

Fig. 10
The outer covers are made from hand made paper, each bonded to a piece of machine embroidered pulled work. Fig. 10 shows the cover which sits over the 'Palace of Dreams' side of the finished book. In order to reference the palace I machine stitched over a piece of canvas from which a grid of threads has been removed. I then worked hand embroidery over the grid in some areas.

Fig. 11
Fig. 11 shows the cover which sits over the 'Garden of Memory' side of the book and has a much more organic panel embedded in the paper, this time made from a piece of machine embroidered scrim to reference a tangle of stems on a trellis.
Figures 12-21 show the completed book as I turned the pages.

Fig. 12

Fig. 13
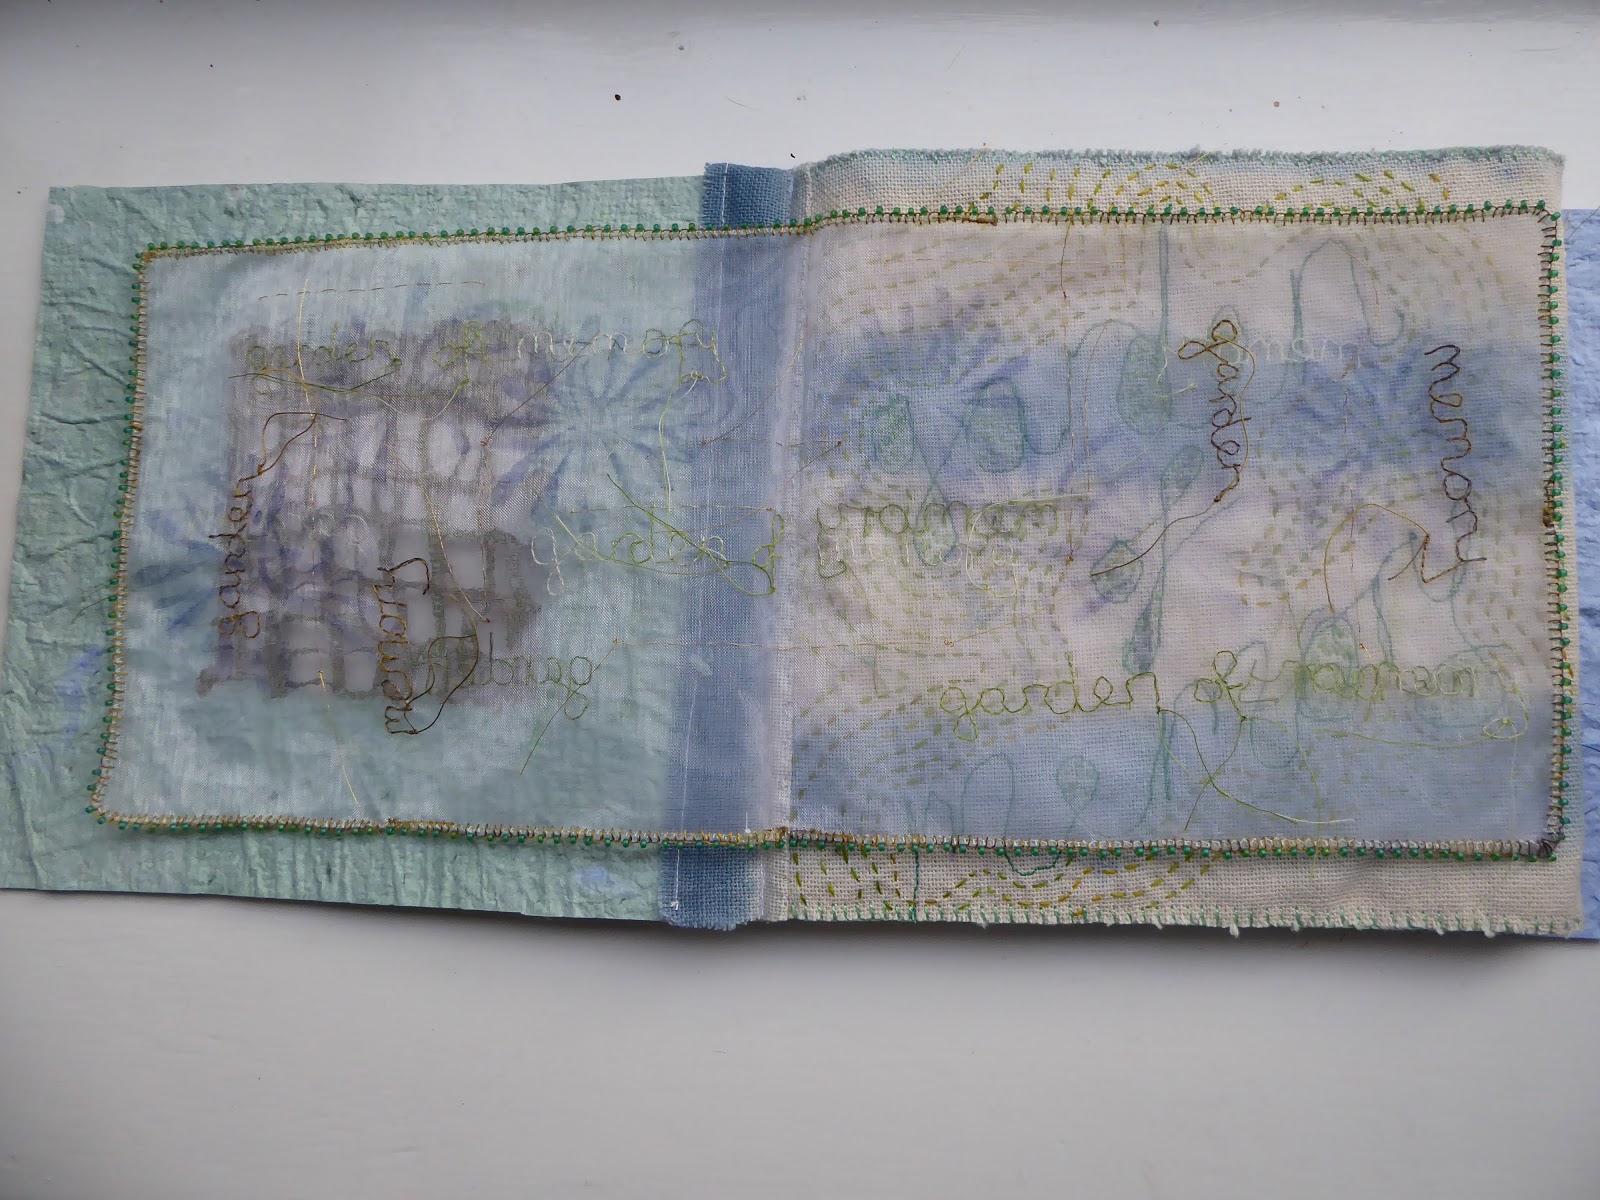
Fig. 14

Fig. 15
I stitched lines of running stitch around the words on the linen pages.

Fig. 16

Fig. 17

Fig. 18

Fig. 19

Fig. 20

Fig. 21

Fig. 22
Evaluation of final piece of work
Overall I'm very happy with my finished book, though were I to make it again I would probably enclose a piece of pelmet vilene between the two linen pages to stiffen the back. The book works well in the hand but trying to stand it up in order to display it for the purposes of this blog proved tricky with the soft centre.
That being said, however, I feel that the book I've made uses many of the techniques learned throughout this module. I had never made paper before but I found it fun to do and ended up with some interesting papers to use in sketchbooks and the like in future. I had done some pulled thread embroidery by hand in the past but never on the machine, and I thoroughly enjoyed exploring this technique, making some interesting discoveries whilst working with canvas along the way. I had also never plucked up the courage to try free machining lettering before and was pleasantly surprised by the results I achieved.
I also feel that for this module I finally embraced the process of exploring and experimenting with a technique through sampling without having a fixed finished piece in my mind and I think that the book has benefited from this. Without all the sampling I would probably have fallen back on tried and tested methods of book making that I have used in the past. I'm delighted that I now have another book to add to my collection - one that is different from all the others - and one which adds to my work on my family history.
No comments:
Post a Comment