
Fig.1 - Lining
I decided to use all the beautiful paler blue and grey fabrics for the lining of my box and pieced these randomly in strips, which I then cut and pieced again and again until I had quite a large area of fabric from which I cut the lining pieces. I chose a particularly attractively marked piece for the base, which I left whole to showcase the pattern on the fabric. I feel much more at home with a needle in my hand than working at the sewing machine and so decided to back the lining with quilt batting and hand quilt with a random pattern of running stitches using a fine coton-a-broder thread in off-white.
Once quilted, the pieces were stitched onto pelmet vilene and stitched together, again by hand.

Fig.2 - Base
I chose a piece of mono-printed fabric with a lizard skin marking for the base of my box, which I laced over mount board.

Fig.3 - Front and back
I pieced the front and back panels, attaching them together with separate strips of fabric to leave a gap, which would eventually be covered by strips of blackwork embroidery (Fig.4). The idea was that these would look like the straps sometimes seen on ancient reliquaries.

Fig.4 - 'Blackwork' embroidered strips
I didn't have any black evenweave fabric and couldn't source any locally so decided to use navy blue as a background for my white 'blackwork' embroidery.

Fig.5 - Lid pieces
I used my machine embroidered strips of fabric for the triangular design on the lid of my box (Fig.5) to echo the spines on the back of my lizard, and the prairie points which would eventually add the final touch to the lid.

Fig.6 - End panels
I used yet another different patchwork design for the end panels and Fig.7 below shows how all the pieces were laced over mountboard to give the box strength and the pieced panels a neat appearance.

Fig.7 - End panels showing lacing

Fig.8 - Lining for lid
Figure 8 shows how I made a cut down version of the lid for the lining in order to accommodate the base of the prairie point spines which would be trapped between the two lid pieces.

Fig.9 - Completed box
Figure 9 shows the completed box in all its glory!, while Figure 10 below shows a better view of the prairie points on the lid, inspired by the dragon back roof on the Casa Batlla in Barcelona, designed by Gaudi.

Fig.10

Fig.11
I added toggles to the top and bottom corners of the box for added decoration and a Dorset button inspired by my lizard's eye, together with some cords as a fastening.

Fig.12
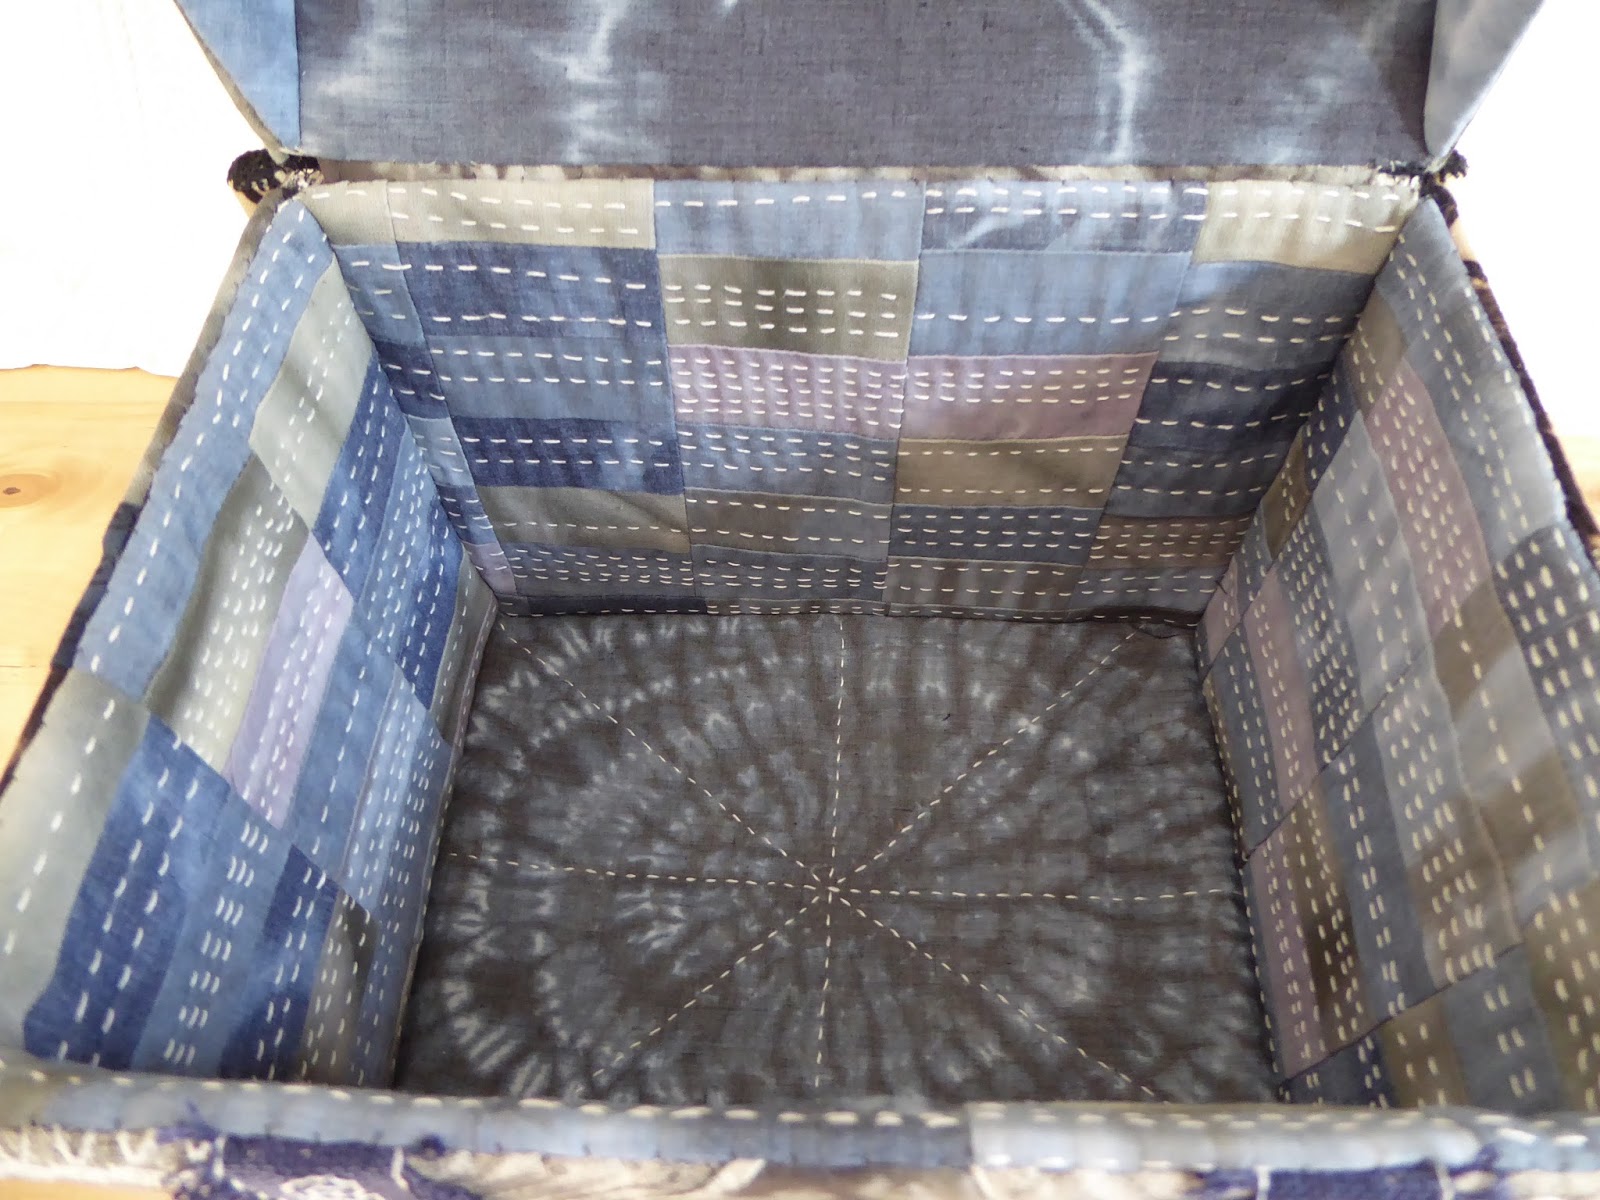
Fig.13
Figures 13 and 14 show the lining of the box, together with the fabric hinge trapped between the box and lid.

Fig.14
No comments:
Post a Comment